I could have given this post so many different titles. Here are a few: “The dresser from H-E-Double-Hockey-Sticks;” “Are you suuuurrrre you want a high gloss lacquer finish?”; “There’s a time for Plan B;” “Gloss is awesome, but…” “What? You ordered those brass legs two months ago and they just came now??” Anyway. Based on these prospective titles alone, you can likely ascertain that this piece was an absolute pain in the patooty. Guess what? You’re right.
Part One: Paint and then lacquer, the first time…
However, if you’re reading this more than likely you’re beguiled by a glossy finish. If that’s the case, then there’s also a really good chance you’re a perfectionist. Ahem. It’s okay. I am too. Let me also say here that a deep dish gloss finish IS NOT FOR THE FAINT OF HEART. The finish will frustrate you, maybe make you cry or utter a curse word, but when you do get it right, will be worth the effort.
The first step in attaining this smooth, glossy finish, is thorough surface prep. See this post, How to Sand Wood for a Flawless Finish, for a breakdown on sanding grits and good sanding practices. I know, I know. Sanding isn’t glamorous work, but it’s necessary and needed for a gloss finish.
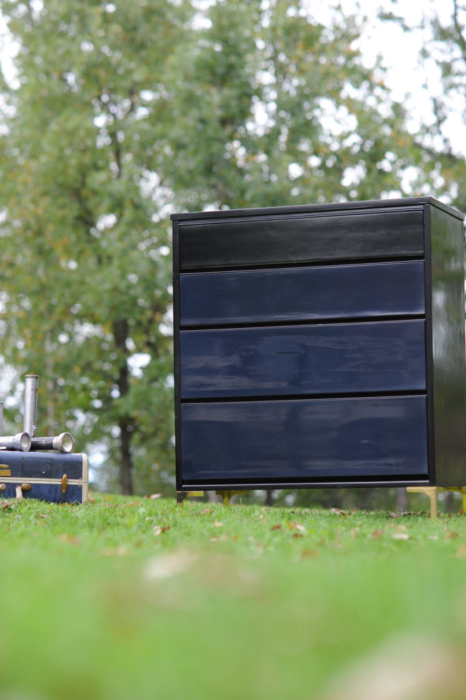
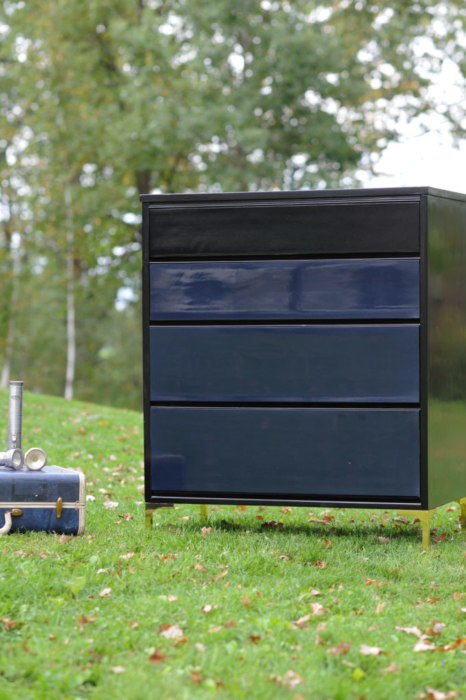
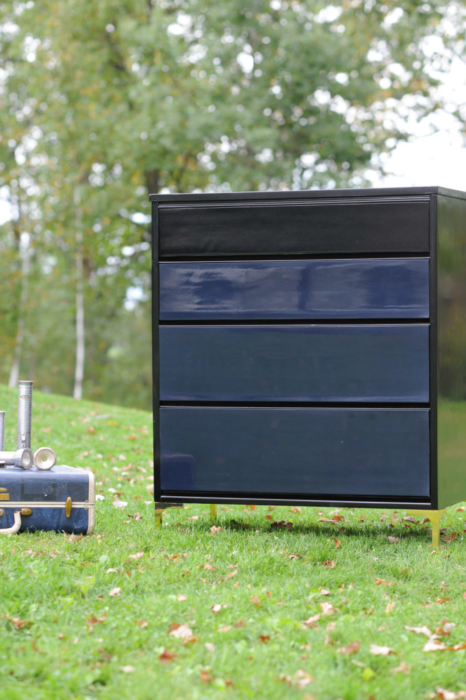
Enter a basic MCM piece. I custom-mixed GF Klein Blue and Lamp Black to create a midnight blue/black and sprayed 3 coats. After paint, I sprayed the carcass and drawers with 6 coats of GF water-based lacquer in gloss. I planned on rubbing out the finish so wasn’t overly concerned with a perfect, off-the-gun finish. A perfect off the gun finish is nice, of course, but not always doable, especially since I sprayed the clear lacquer under less than ideal conditions.
Part Two: Rubbing out the finish, the first time…
When I prepared to rub out the finish, I thought I did my research and I’m generally an excellent researcher, but I didn’t understand that my sanding tools, namely my cheapy orbital sander, weren’t gonna cut it and would instead undermine and undo my work.
In my first attempt, I sanded with 600 grit mesh discs, 800 grit mesh discs, and then two Menzerna products recommended by Jeff Jewitt. As I did so, I burned through the lacquer in few places (edges) and even to primer in a few spots. Talk about frustrating!
After talking with the lovely Kayla from Painted by Kayla via Voxer where we chatted about sanding tools necessary for rubbing out a finish, I realized that my sander was largely to blame for the mishap. Please, please see her amazing post on Rubbing out a Finish; she details the rubbing out process, essentially the same process that I followed in rubbing out a water-based lacquer.
“The right stuff:” a fancy sander and dustless sanding system
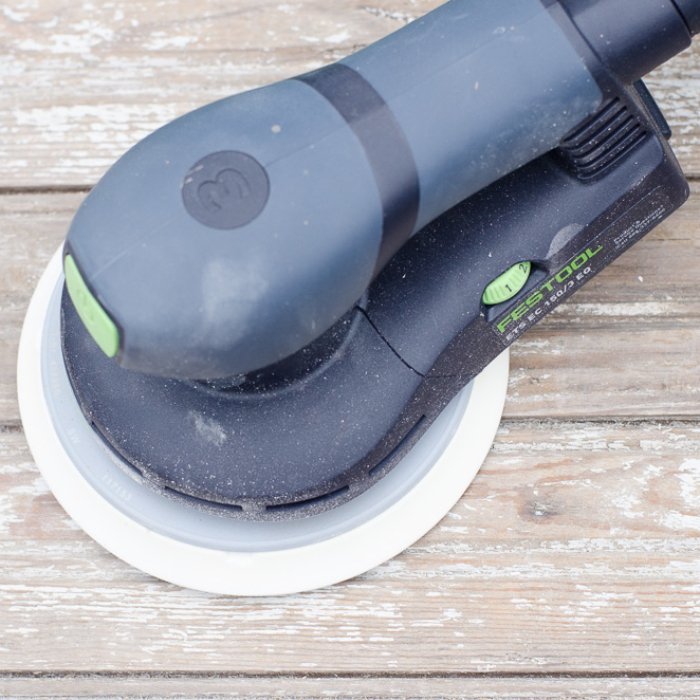
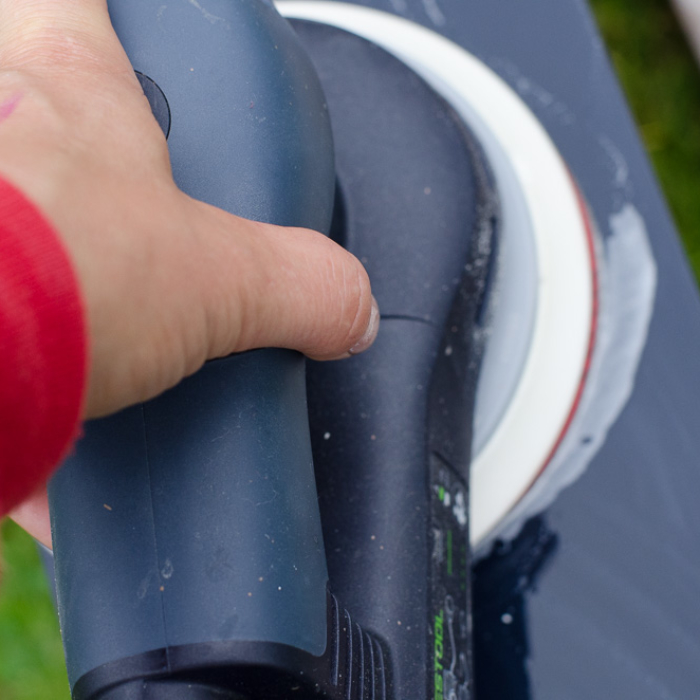
My (foolhardy?) quest for that perfect, deep dish gloss finish compelled me to purchase better sanding tools. In the first post I wrote about sanding, I noted that someday I wanted to upgrade my sanding tools. In the interim between that post and this one, I did. I bought this guy: a Festool ETS EC 150/3 EQ. I agonized over the purchase for several reasons. 1) It’s a LOT of money for a freakin’ sander 2) It’s a LOT of money for a freakin’ sander 3) Was it the “right” sander for my purposes?
I tried out several models: first the Festool Rotex 125 (a sander and polisher combo) but returned it as it was far too large for my hand. I then waffled between the Ceros and the Deros sanders, both manufactured by Mirka, though I didn’t purchase one given that the company doesn’t have a return policy!
After deciding to purchase a Festool sander—they have a dizzying array of sanders—I settled on the one mentioned above. Why?
The ergonomics. The sander feels like an extension of one’s hand with little to no chatter. It’s AMAZING given that I was used to getting taken for a ride using my uninspired(ing) random orbital sander. You know, the one that ruined my lacquered finish in my first attempt to rub out water-based lacquer.
The sander mimics the action of an air sander. I “need” a dual action air sander for rubbing out finishes. Currently, I don’t have a big air compressor or the space to house one, in fact, and so opted to purchase this sander to meet the demand for both an air sander and a quality regular sander.
The performance. The sander stays completely flat against the surface. Honestly, it’s perfect.
The dustless sanding. Furniture friends, dustless sanding is a total and complete game changer! If you can afford or can finangle some sort of vacuum system to attach to your sander you’ll wonder how you ever did without one. The vacuum sucks the dust through the sander while you’re sanding, leaving you with a nearly dust-free surface after sanding. It makes your sandpaper last longer, especially if you’re using mesh sanding disks, saves your lungs, and is just plain better.
Step 1: Rub out the cured finish with fine grits
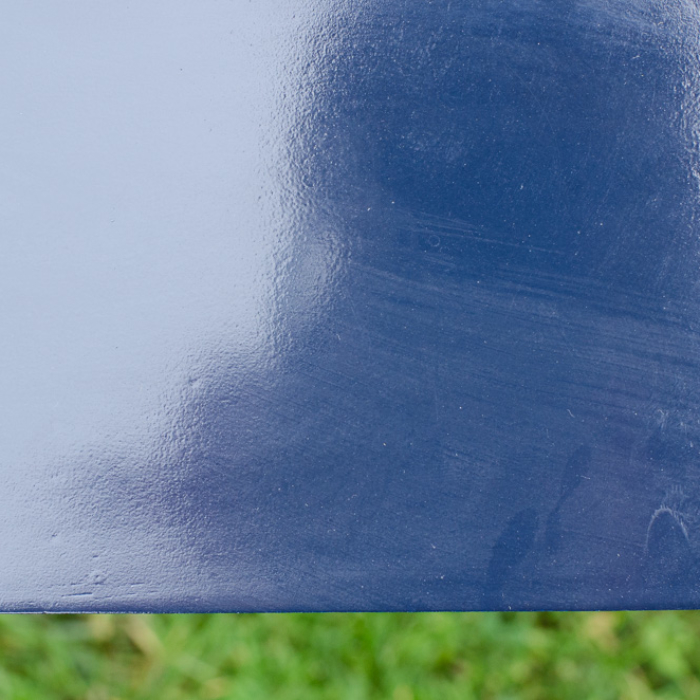
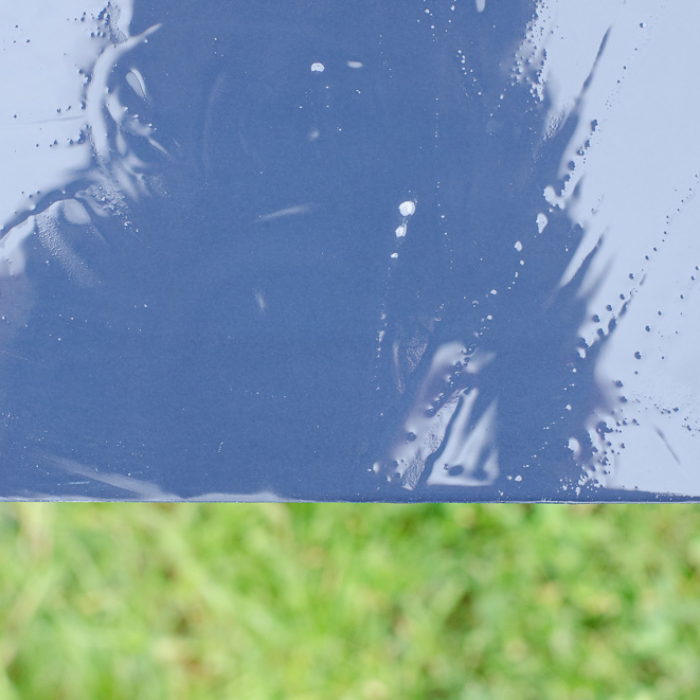
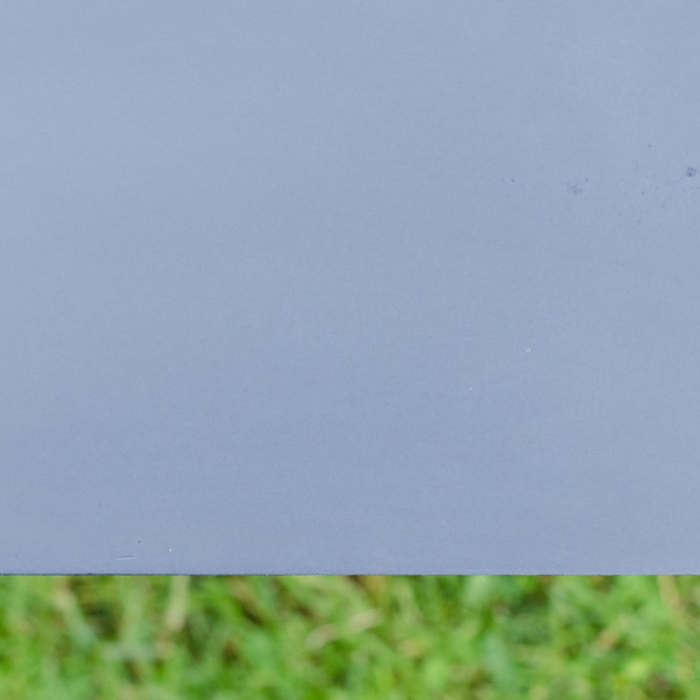
Before you begin, make sure you’ve allowed the finish to fully cure and have applied enough coats; there’s no sense in ruining a finish simply because you didn’t let it cure long enough. Chances are, if you’re rubbing out a finish, you want that elusive mirror effect, and sanding with fine grits (while completely counter-intuitive) is the first step. Why? The fine scratch patterns create the shine and gloss. If you click through the gallery, you’ll notice that the drawer (in the first shot) is bumpy and yucky, shiny yes, but also bumpy. As you continue clicking, you’ll see that glossy surface is uniformly dull at the end of the grit progression: this is exactly what you want.
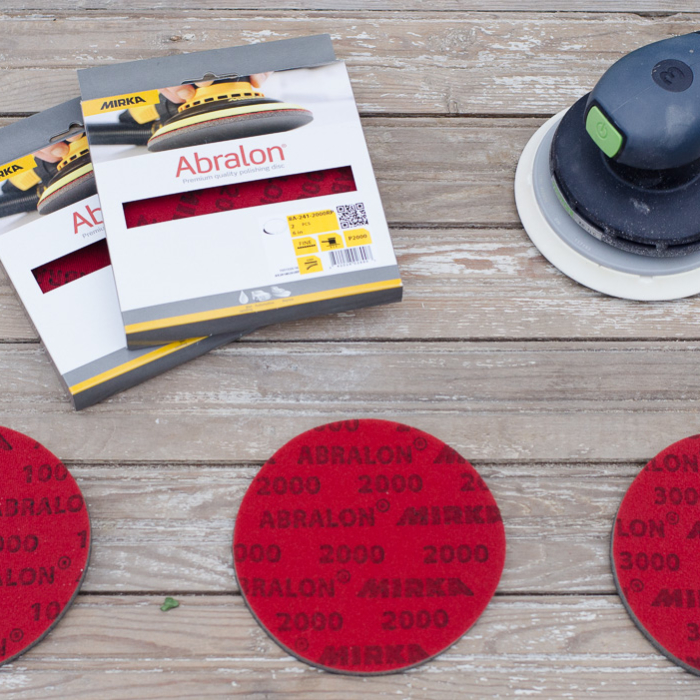
I sanded with 1000 grit pad, then a 2000 grit, and then a 3000 grit pad. For each grit, I soaked the pad in soapy water (as Kayla does in her process as well). I then attached the pad to the sander (hook and loop attachment!) and then worked the pad over the drawer front. The goal here is to smooth out the finish and to uniformly take down the gloss, so that the entire surface is dull. It’s helpful and advisable to follow a pattern, to avoid overworking the finish. Ask me, I know! I worked across the drawer front sideways, overlapping each pass by about half. Once I’d worked down the drawer front that way, I worked the sander down the length of the drawer (rather than sideways), again overlapping by half.
After wet sanding with each grit, wipe off the foaminess with a cloth and examine your progress. The surface should be incredibly smooth (especially when you’ve worked up to the highest grit) and uniformly dull. If there are shiny spots, you’ll want to hit the area with sander again, though taking care to NOT over-sand. Take it from the Queen, it’s hard to find the sweet spot here!
Some cautions: It is SO easy to cut through the finish, even with good tools, especially on the edges. So pay attention to what’s happening in front of you and work in good lighting!
Step 2: Polish that sucker up!
After you’ve achieved a uniformly dull, and incredibly smooth surface, it’s time to polish the surface to revive the gloss. Here’s where my current process requires some refining. I used my sander to polish the surface, and a Surbuf pad (recommended by the Wood Whisperer and Jeff Jewitt) but know that a dedicated polisher with quality sanding pads, are the tools to use (see Christina’s great post on the tools for high-gloss furniture).
Honestly, though, it just hasn’t been in the budget to purchase said materials so I used what I had: the sander, the Surbuf pads, and the Menzerna P90E polish.
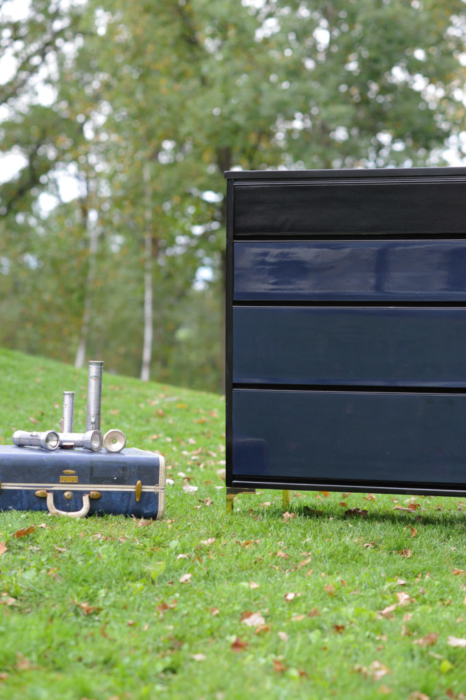
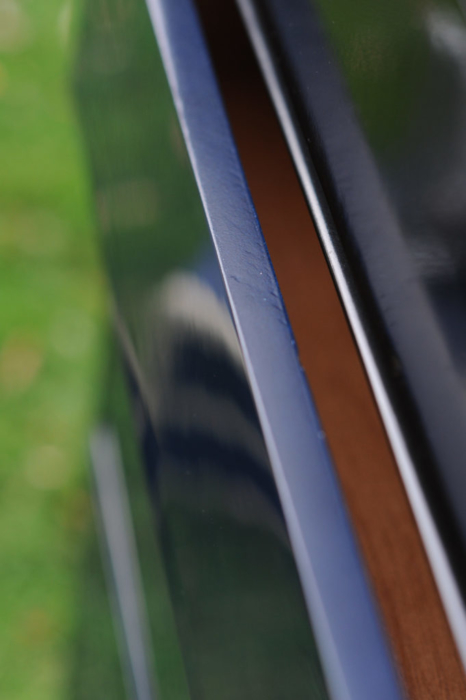
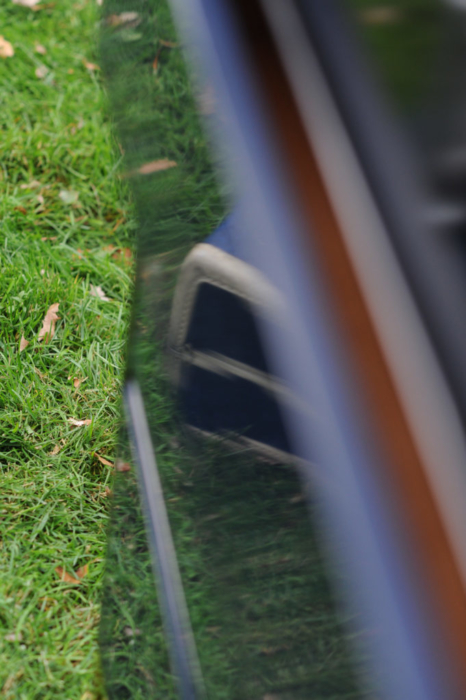
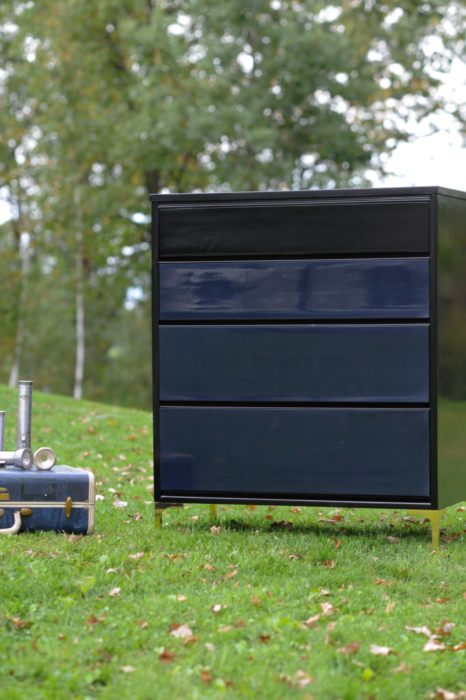
As I look to future gloss projects, I hope to purchase a polisher, proper pads, and additional polishes (still Menzerna products) to better streamline my process and ensure more reliably good results. Here’s where she ended up. Glossy, right? 🙂 And those brass legs, from Modshop (though it took the company TWO MONTHS to ship them!) round out the look perfectly.
Ga-Ga for gloss? To gloss or not to gloss?
I guess this is a real question. Gloss is hard to do, expensive to do, but incredible. If you do decide to pick up the spray gun and attempt to do gloss, read the following. 🙂
Prepare to be frustrated! This piece frustrated me to no end! My first error described above, of course, was frustrating. But do the same thing, again, made me want to scream! This leads me to my second takeaway.
Be open to Plan B (Blue on Black!). After wet-sanding too aggressively on the top, and sanding too much material away FOR THE SECOND TIME, I was NOT going to re-mix the custom color, spray the carcass again, spray six more coats of lacquer, wait for the lacquer to cure, and then start over with the rubbing out process. No way, man! I’m not a quitter, but I’m not stupid either! I opted to sand the carcass back to the primer and spray with a quality, oil-based spray paint. This is where good, thorough prep pays off.
The right tools are key. The Festool sander changed my entire process and increased my ability to achieve a quality finish. As I mentioned above I still need to add to my tool collection (again, see this post from Christina, at Phoenix Restoration): namely, a dedicated polisher, more polishes, and quality polishing pads.
Even though I screwed up TWICE on the body, the drawer fronts please me beyond, beyond. They’re smooth like butter, incredibly glossy, and prove to me that I CAN do it and that water-based lacquer is a legit option for a top-coat, particularly on unpainted surfaces. Hopefully in the future, the learning curve won’t be quite so steep…
Thanks for reading! Please tell me if you have questions, suggestions for improvement, or TRICKS! I’d be ever so grateful.
Also: I’ve linked this furniture post to Friday’s Furniture Fix, hosted by Susie from the Chelsea Project and Lucy from Patina Paradise. <3
Long live the Queen,

2 Comments
Kayla
October 3, 2016 at 8:31 PMLooks awesome, girl!! Love it. Glad to know it works on wb clear coats. Still wonder if it works on wb paints. I still say probably not, but anxious to hear if anyone has done it?! Love this post!!! xo
Queen Patina
October 14, 2016 at 8:22 PMThanks, Kayla! It toooooootallly kicky my booty, but was worth it, I think… 🙂