Spring is rapidly approaching, and like other gardeners, my green thumb is starting to itch like crazy. Each year, I plan out a series of garden projects–sometimes creating new garden beds, sometimes revitalizing existing beds, and sometimes creating fences to enclose and delineate a space. Up this year: a compost bin, which I plan to build independent of the Farm Boy, but probably with his oversight. Ha! I’ll let you know how that goes in a future blog post. (He read that last sentence and is now laughing at me…)
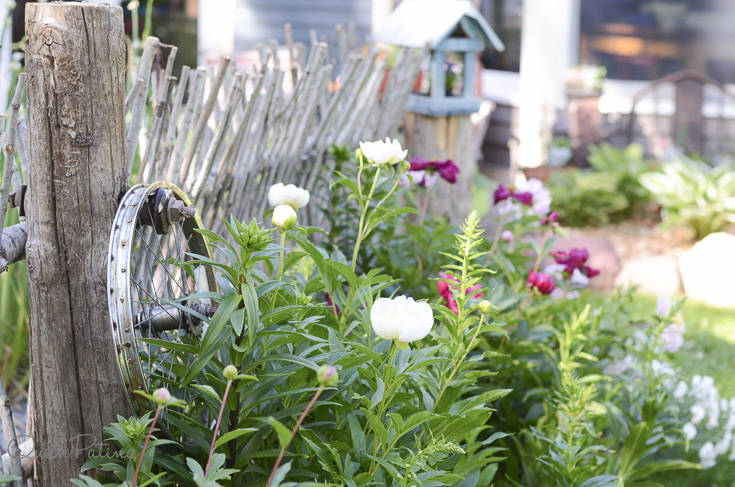
We’ve built a several fences on our 5 acre property–as you might recall, there was nothing at our current home but a dilapidated trailer, a garbage pit, and two un-level concrete slabs. One fence is the standard, two rail fence that utilizes green-treat poles (not something I would recommend for a garden fence) and 2′ x 6′ rails. For our fruit gardens and kitchen garden, however, we built a wattle fence: they’re unique, visually interesting, and depending on your access to materials, cheap.
What you’ll need to make the garden fence:
A garden space, all your own, that you think might benefit from enclosure, either for aesthetic reasons or corralling purposes // Our fence doesn’t really keep anything out, but it does provide a more coherent sense of space.
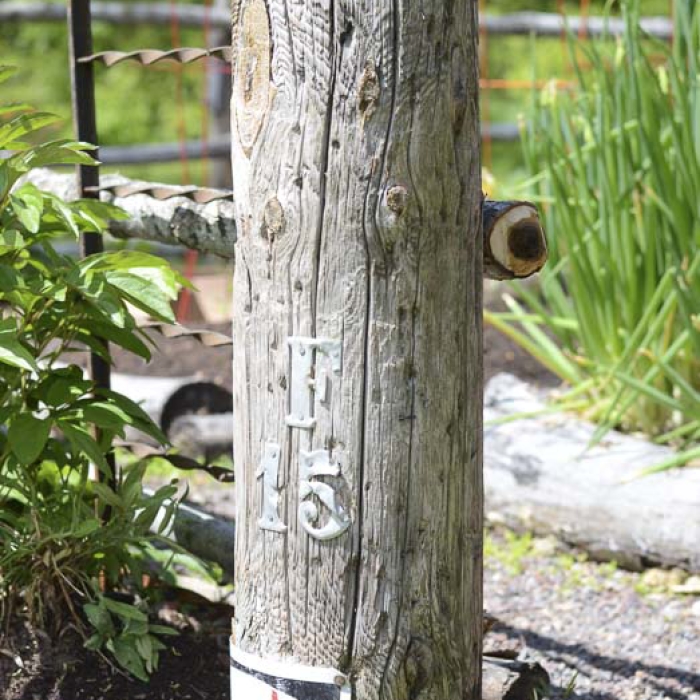
Posts, ones that you’ll sink in the ground and attach the rails to // We used recycled telephone posts, given to us by some dear friends who gave them to us when they moved, sniff.
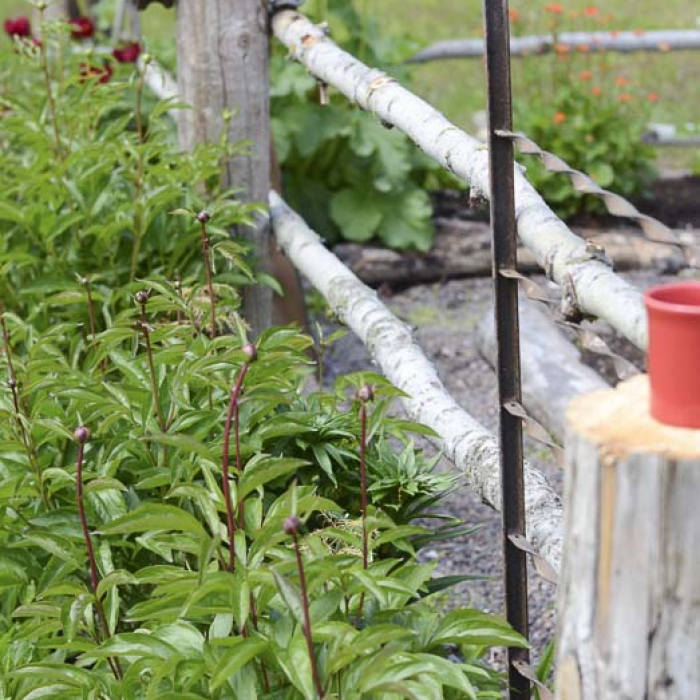
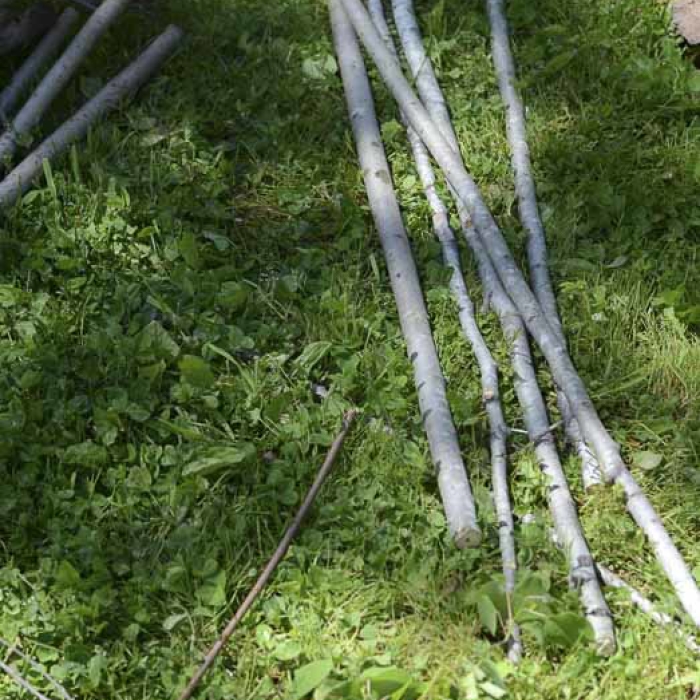
Rails (these can be purchased or harvested locally // We harvested aspens (plentiful around here!) 2″-4″ inches in diameter and 10′ in length. NOTE: The length you chose depends on the spacing between your posts. More on that later.
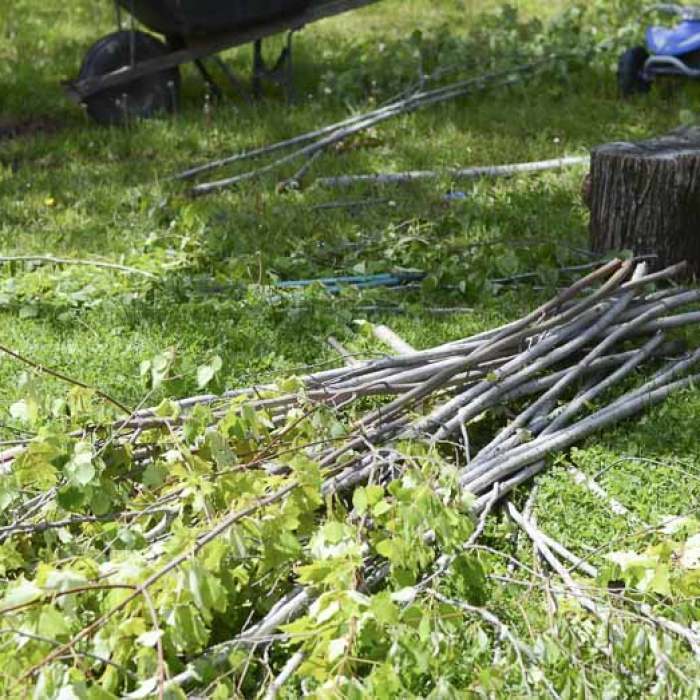
A LOT of flexible, green saplings // We took advantage of our wooded 5 acres–lucky for us, aspen saplings abound. Typically, you’ll want to use a flexible, pliable sapling like a birch or alder.
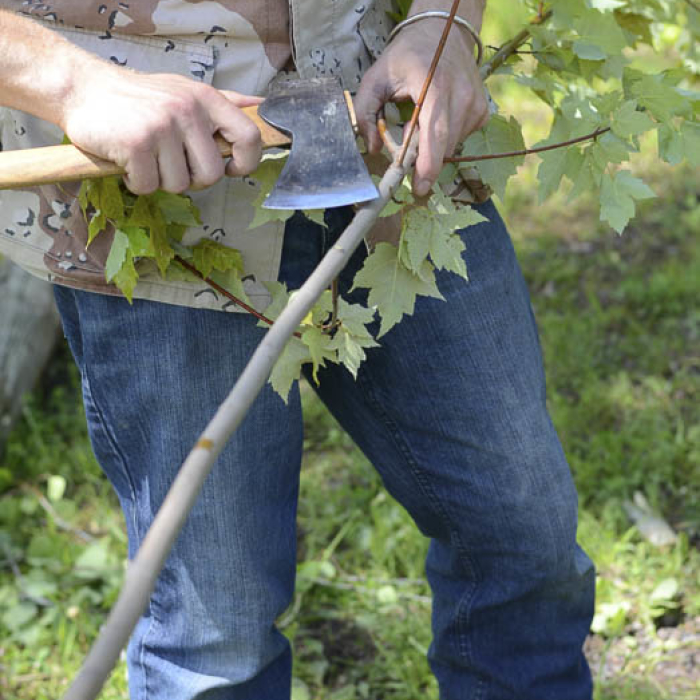
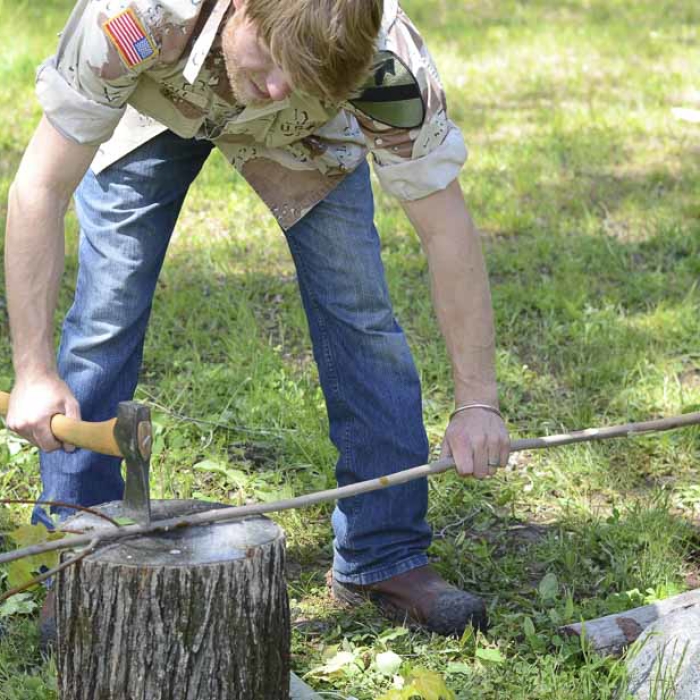
A sharp axe and possibly a chain saw // Thad wielded the chainsaw, while I wielded the axe and machete. Don’t worry, I’m mostly trustworthy though Farm Boy rarely lets me touch anything with a honed, sharp edge for fear that I’ll rapidly destroy the fine edge he painstakingly developed. It’s not an unfounded fear…
A post-hole digger // There’s a really good chance you might get a callous or two, or three.
Patience and a capacity for mindless work // While not difficult in the least, it takes some to to find, limb, cut, and install each sapling–think of it well-deserved “you” time where you can plumb the depths of your mind, though, that could be dangerous in my case!
What you’ll need to do to make the garden fence:
Establish the dimensions of the space // In our case, we were looking at fencing a 16′ x 27′ kitchen garden outside our French doors.
Determine how many posts you’ll need. To do so, plan on evenly spacing your posts, with a span no longer than 10′ between each post // We used eight posts total for a 16′ x 27′ three-sided fence. Ours was three-sided because one side butted up too, or nearly to, the side of the house.
Layout the the fence and determine the pole placement // See above.
Dig the holes for the post // Farm Boy dug these ones, though I’ve been known to pick-up the post hole digger myself.
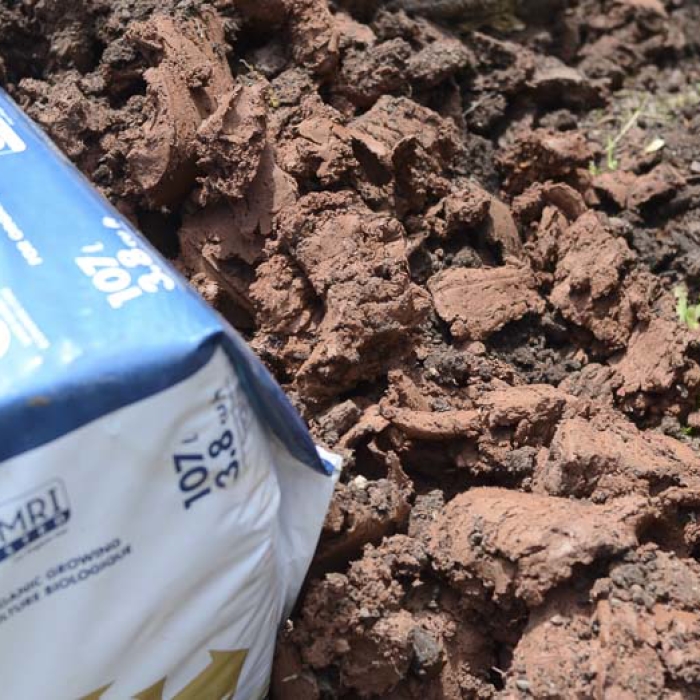
Install the posts, making sure each post is level. Tamp posts as needed so as to maintain level // We live in red clay, a fact I’ve bemoaned in this post, and so we set and tamped the poles using a sapling post and the excess red clay.
Determine what material you’ll use for the rails, and cut to length, knowing that you’ll need to use three rails for each span between posts // As I’ve mentioned above, aspen/poplar is plentiful in Northern WI so Farm Boy took his Gransfors Bruks, Small Forest Axe“>Gränsfors Bruk
ax out to our woods and cut three rails, per span which ended up being 21 rails total. Remember to select trees with adequate girth (2″-4” inches).
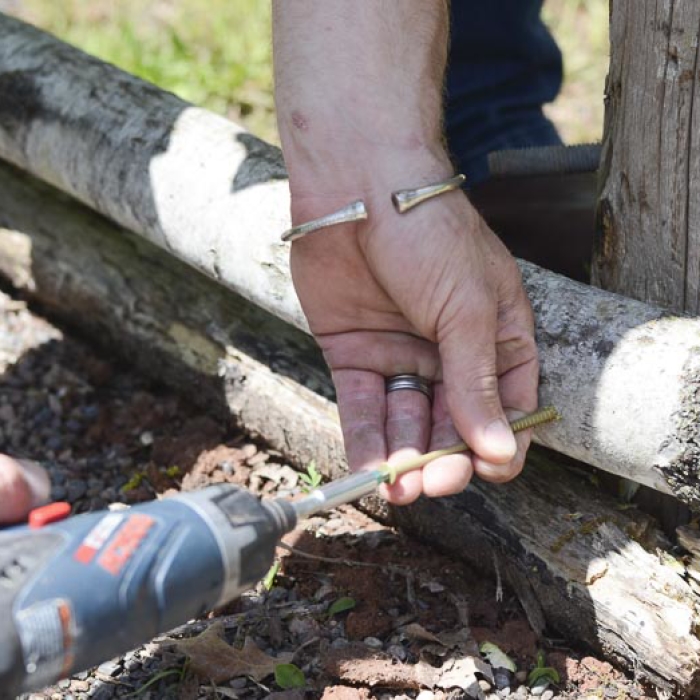
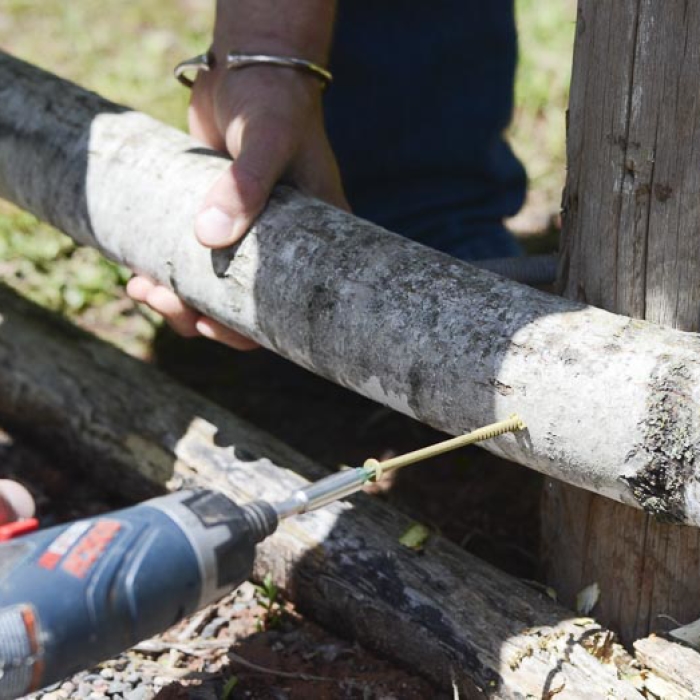
Install railings // We attached the railings to the posts with GRK R4 HandyPak Multipurpose Screws, 10 by 4-Inch, 50-Count“>GRK screws.
NOTE: For a larger image, click the image, and click through each mini gallery.
Prepare the saplings // You’ll need to get your hands on A LOT of saplings. Find a friend a who needs a field cleared, or a friend who has a brushy swamp and get your hands on as many of this suckers as. you. can. You’ll also need to prepare them before you install them: strip the extra leaves, branches, making sure that the saplings are small enough to bend easily (1/2″-1″). This is where a sharp axe or machete comes in really handy. Cut to the desired length, knowing that random lengths are a-okay, unless you’re incredibly OCD…
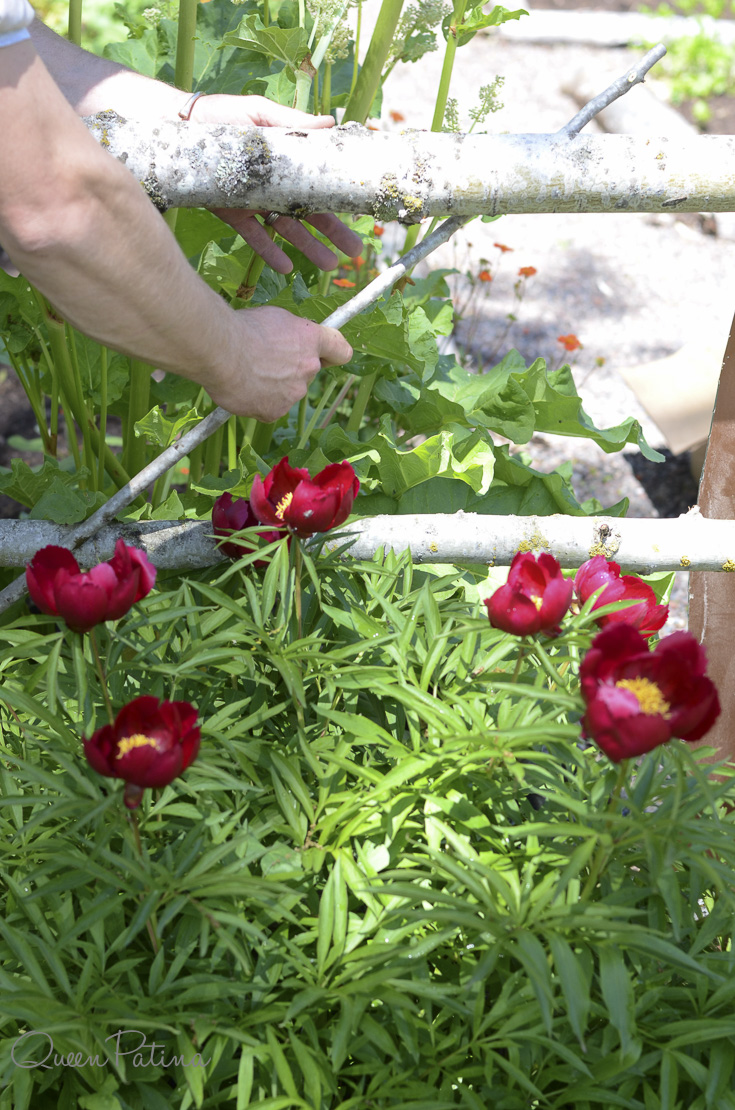
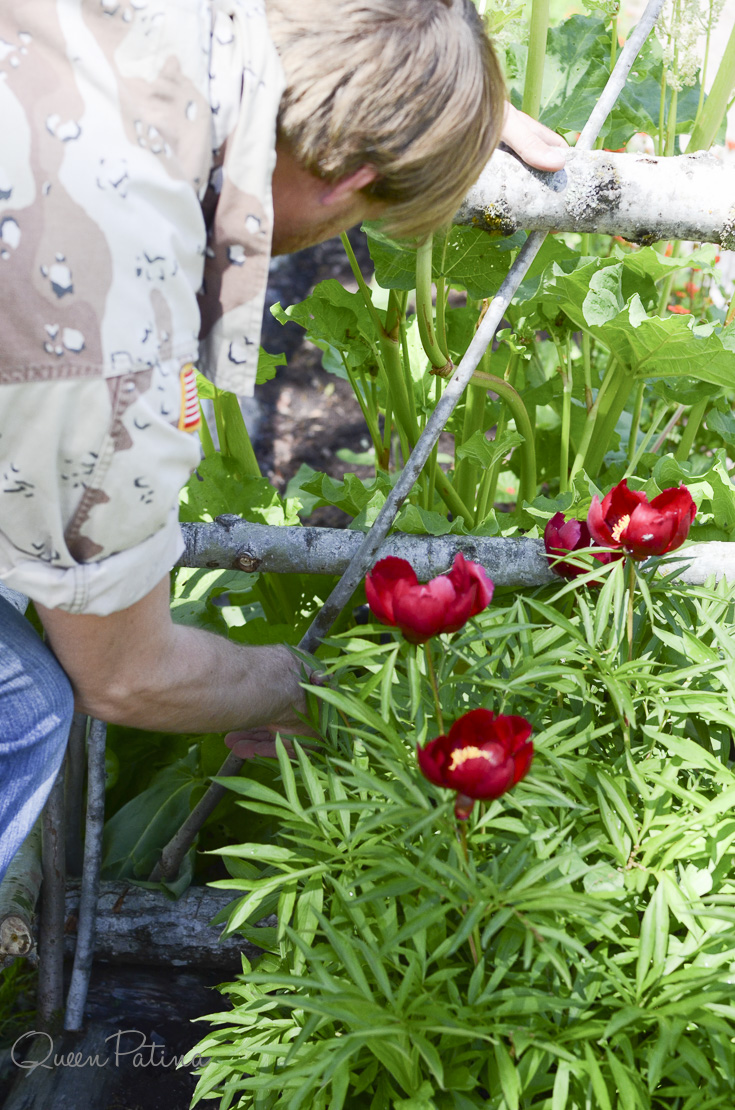
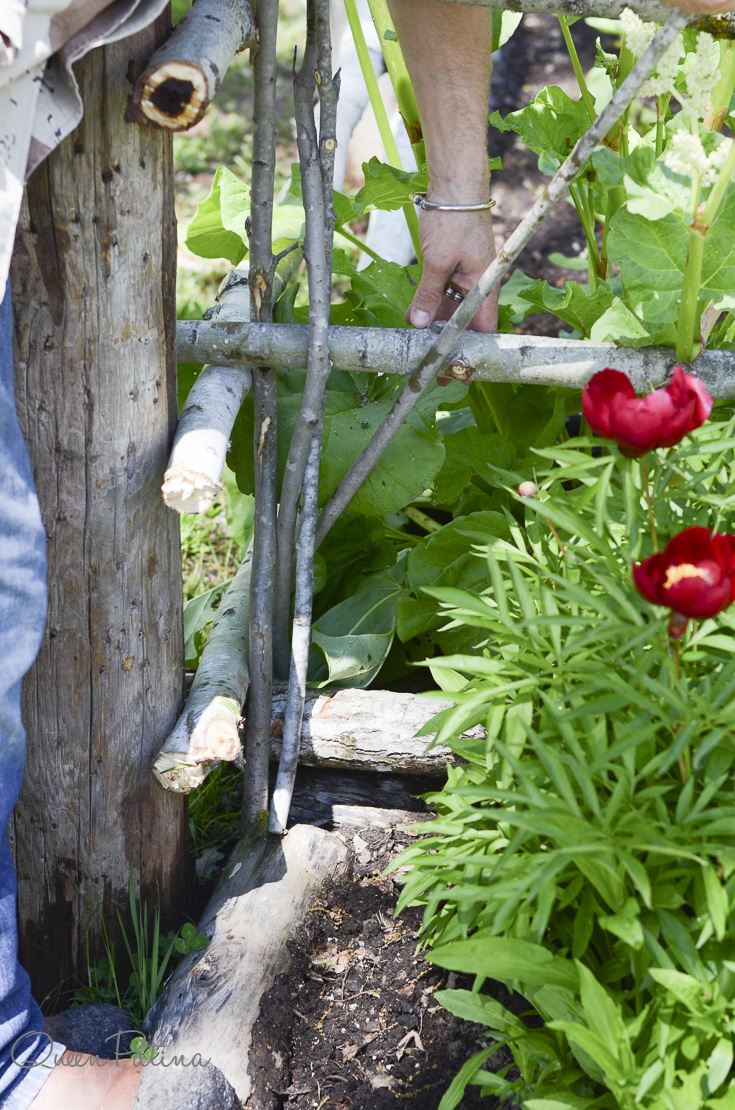
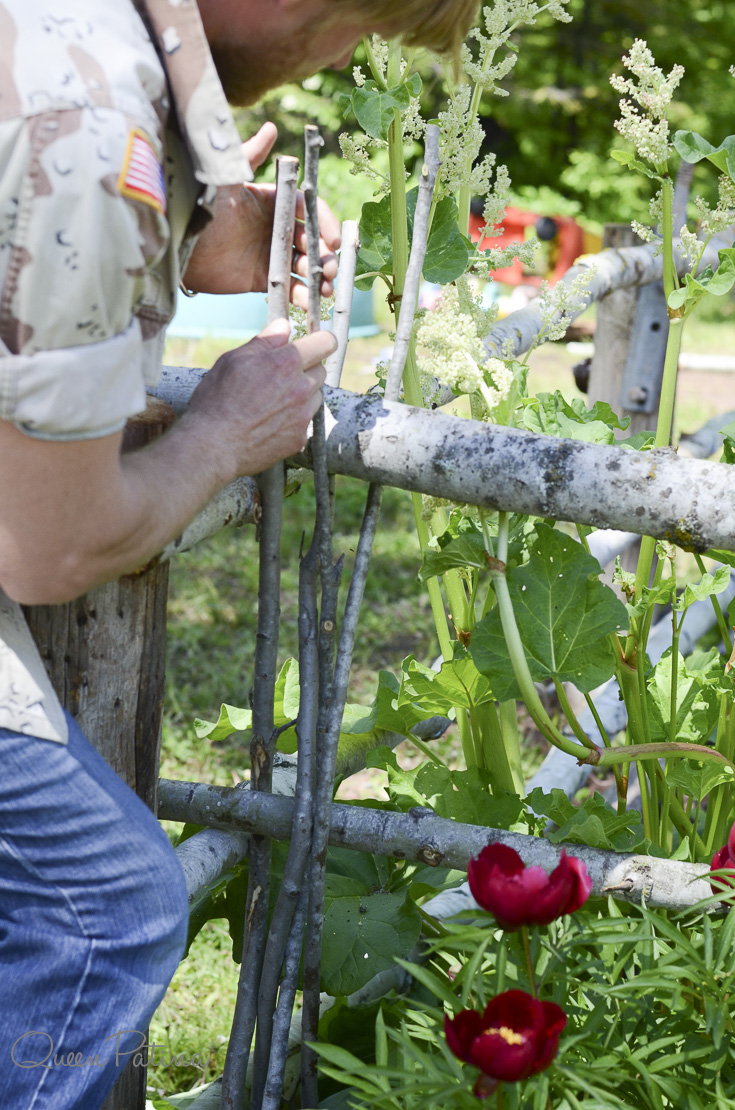
Install the saplings // To install the saplings, you’ll need to weave them between the three installed railings. To do this, weave one sapling between the three railings. For the next sapling, weave it between the railings as well but do it in the opposite direction. See the images below for clarification.
You’ll quickly realize just HOW MANY saplings you’re going to need to finish the project. To expedite the process, it can be helpful to have one person prepare saplings–cut them to length, trim off the excess foliage–and have another person install the saplings. Even with the division of labor, it’s going to take a while, though eventually you’ll get there!
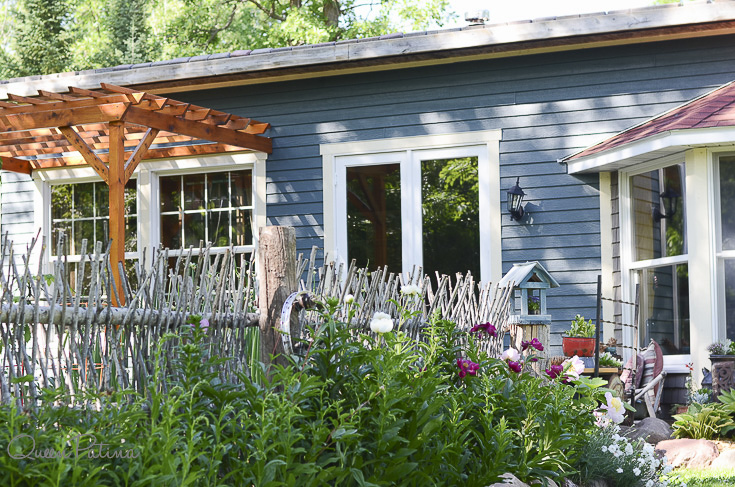
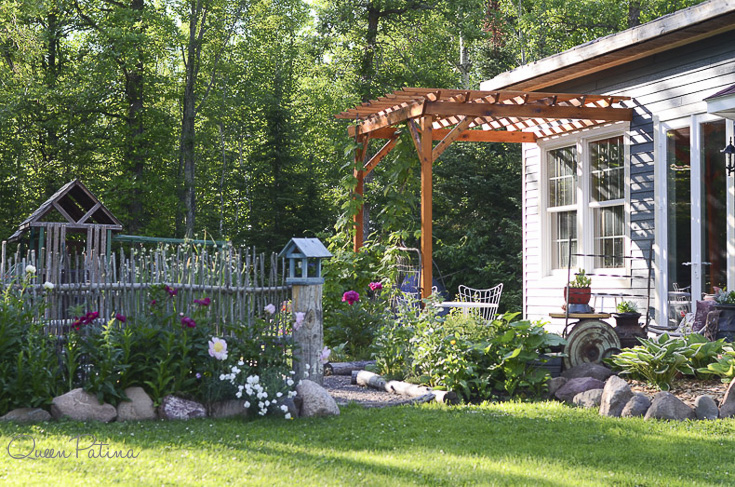
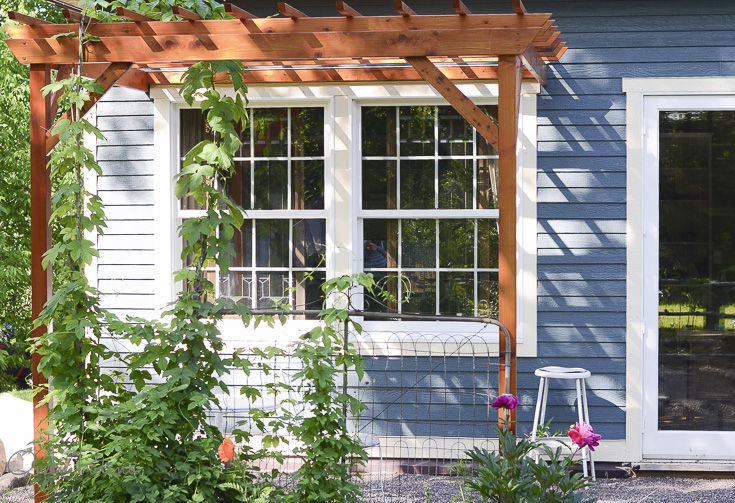
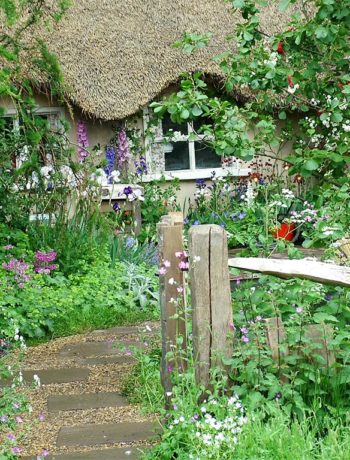
Here are some shots of the finished project…
And there you have it: a beautiful garden fence that’s unique, easy to build, and depending on your access to materials: FREE! It’ll take some time to build, but once you’ve invested the time and energy, you’ll be glad you did. If you have any questions on HOW or WHAT to to do, please let me know.
If your interest is piqued and you’re as ready as I am to be digging in the dirt, but aren’t sure exactly where to start, I’ve written a gardening series for the developing gardener. The series charts the development of the above space and shares my development from a new, unsure gardener who only knew she loved flowers to one who has some degree of hard-won experience and confidence. And you’ll see just exactly how rough the above space was pre-kitchen garden and fence…
The Gardening Series: Entry # 1, Entry # 2, Entry # 3, Entry # 4, Entry # 5, and Entry # 6.
For fun, I’ve share this at the DIY Like a Boss Party, hosted this week by Brittany from Pretty Handy Girl.
Later into the gardening season, I’ll update you on some other gardening projects, namely a compost bin. In the meanwhile, what garden projects do you dream of this February day?
Happy almost spring, all!




10 Comments
Rita
February 28, 2016 at 2:56 PMI really like it. I am making a large Cottage garden and this would be nice. But how long can you expect this to last?
queen patina
February 28, 2016 at 11:33 PMHi Rita: That’s a great question! And surprisingly, this type of fence ages really well with little to no maintenance needed until about 5 years (or more even) and then it’s replacing the odd, cracked sapling. Please let me know if you have any other questions! 🙂
Pam
February 28, 2016 at 4:39 PMI’ve been wanting to know how to build this type of fence. Thanks so much for your detailed, easy-to-follow instructions!
queen patina
February 28, 2016 at 11:28 PMYay! I’m glad you found the directions clear and easy-to-follow and that they clarified the “how-to” aspect of the fence. And thanks for the comment! 🙂
Sharon
February 28, 2016 at 10:26 PMVery creative, the fence is amazing. I love it.
queen patina
February 28, 2016 at 11:26 PMThanks, Sharon! It was fun to do–even if it took a long while. I appreciate the comment! 🙂
Trish
February 29, 2016 at 12:02 PMJust what I needed directions for. I am moving ,my perennials and need a fence I can build by myself. I have a lot of black locust and many sizes of growth. They are very strong and last longer then most trees.
queen patina
March 3, 2016 at 9:14 AMOh I’m so glad! Good luck to you! 🙂
Brook cooper
March 9, 2016 at 11:52 AMLove your ideas!!# they are unique and fun. Do you know what other kinds of wood material wood work for the fencing. I was thinking bamboo? But I’m not sure how to get it..I also don’t want an expensive project. I have tons of trees but some are dead and some alive.. would they work? Thanks for your help. ..
queen patina
March 10, 2016 at 8:35 PMHi Brook! And thank you. 🙂 In terms of wood, you want generally flexible wood for the weaving–think alder, birch, poplar–and it definitely needs to be live so that it flexes without breaking during the install. If you have any other questions, please let me know!