Sometimes, I swear, I’m my own worst enemy. For instance, I rarely, if ever check messages on the landline answering machine. I hate doing it. If you leave me a message and think I might get it, you should probably call me back another time. Or email me. This bad habit of mine means that I’ve missed the occasional appointment, and other such fiddle faddle. Like I said. My own worst enemy sometimes.
This tendency to self-limit also pertains to my artistic process as well. Let me explain. And let me also say that I take my furniture fixing quite seriously. A self-proclaimed perfectionist, I value quality, both in the initial finish application and the longevity and durability of said finish. And sometimes, sometimes that gets me into trouble.
I found this piece on the side of the road on my way to play a summer volleyball game. I drove past it, and then because I was running ahead of schedule (a minor miracle!), pulled a quick U-turn and tracked down the owner. As I’d hoped, it was there for the taking, complete with a My Little Pony sticker and some minor water damage.
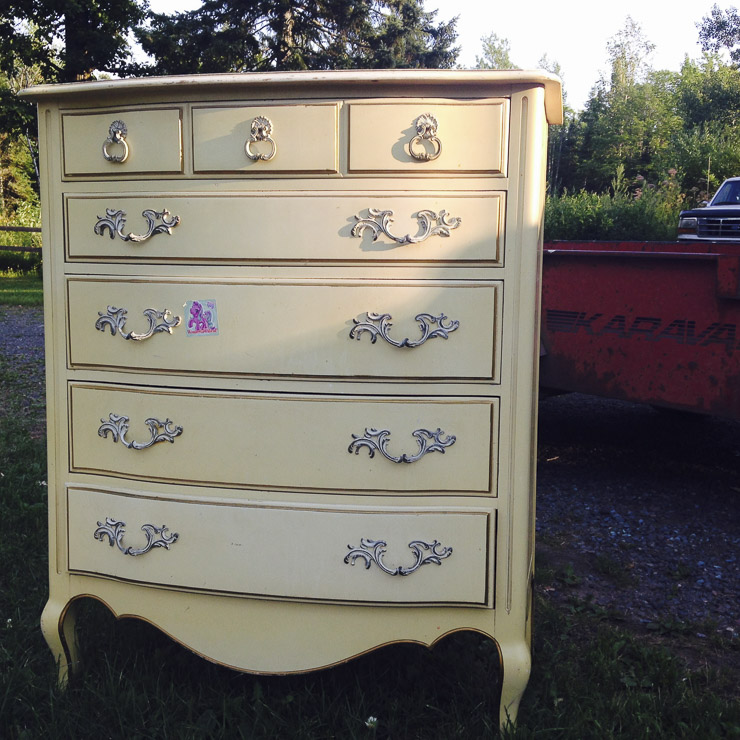
Initially, I’d planned to spray the piece in BM Advance Semi-gloss though I nearly rethought my original plans given Christina and Ben’s Break-up; nevertheless, I prepped the piece for spraying. I followed Sucheta’s directives in this post–that she wrote because I asked her to–thank you, Sucheta! Note, however, that she’s updated her prepping methods and details them here. Sanding, Bondo, more sanding, taping off drawers, priming, tack-clothing, and of course, more sanding.
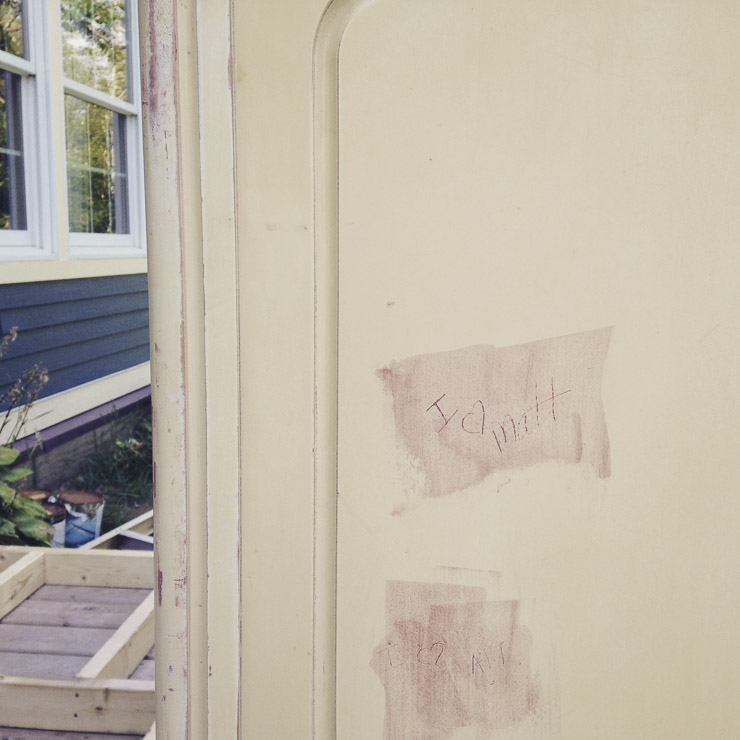
As I prepped I found this etched into the side; pretty sure I loved a Matt once too, in second grade. However, the spraying had to wait, given that as yet, my workshop space–which will house the booth–is unfinished. In the interim, I stumbled upon this piece from Martha of Martha Leone Design. IT. IS. STUNNING.
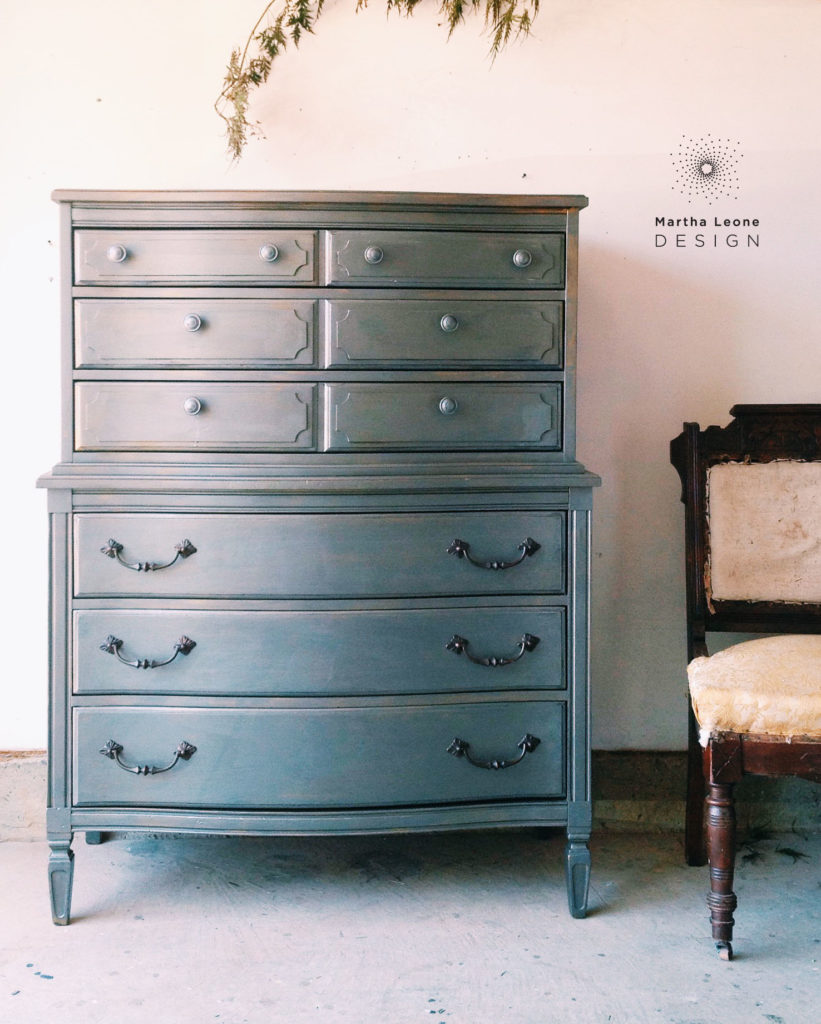
In an email, she kindly shared her process, the products that she used, and mentioned a newish, metallic paint produced by Benjamin Moore, though not a product she used on the aforementioned piece.
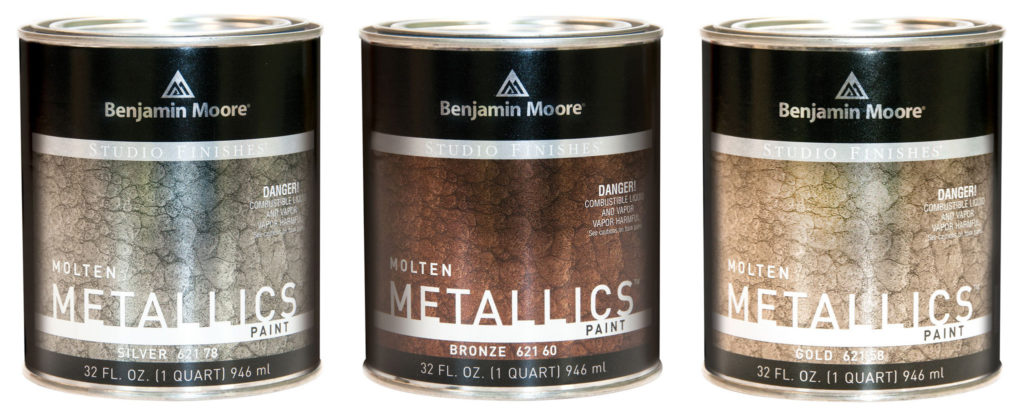
At this point, I decided that I’d re-evaluate my initial plans and create something inspired by Martha’s piece. I tracked down the paint, studied the application instructions, and got to work, hopeful that my careful preparations would pay off in the end.
I applied the paint with a foam roller. And just about started to cry. Rather than self-leveling as I expected it to, the paint seemed to seed. Read Sucheta’s wry post on paint application errors. No, no, no, no, NO! I had sanded. I had primed. I had removed every speck of dust. I had even tried warming the paint, as suggested by Sucheta, but to no avail. This was NOT supposed to happen. I called my man, Thad, not quite in tears, but close. He managed to talk me off furniture ledge I was about to fling myself off of–(can I just say he’s good at that?!) Instead of throwing it on the burn pile, I took a deep breath and decided to search the ever helpful interweb for some information on the paint and its application. Guess what I found out? It is supposed to do that. The paint creates a glossy, hard, hammered metal-like finish–complete with metallic glints added to the paint. The “seeding” that so freaked me out had nothing to do with my preparations, but rather reflected the paint’s inherent qualities. As I said before: I’m my own worst enemy sometimes.
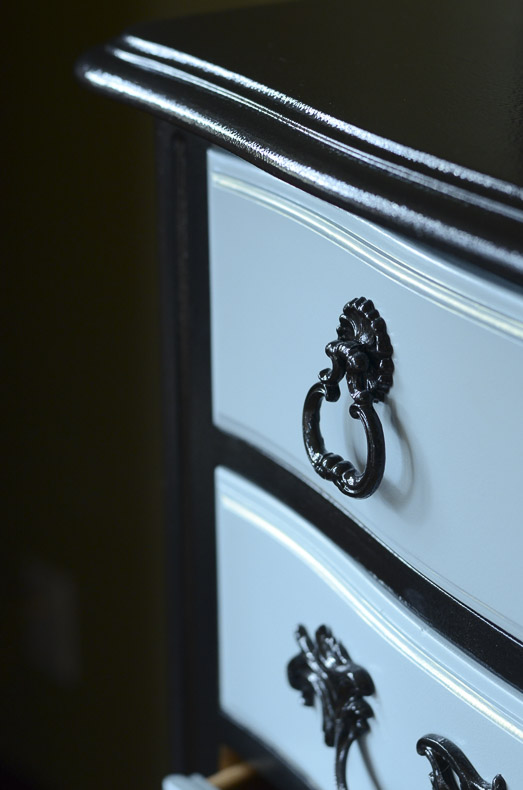
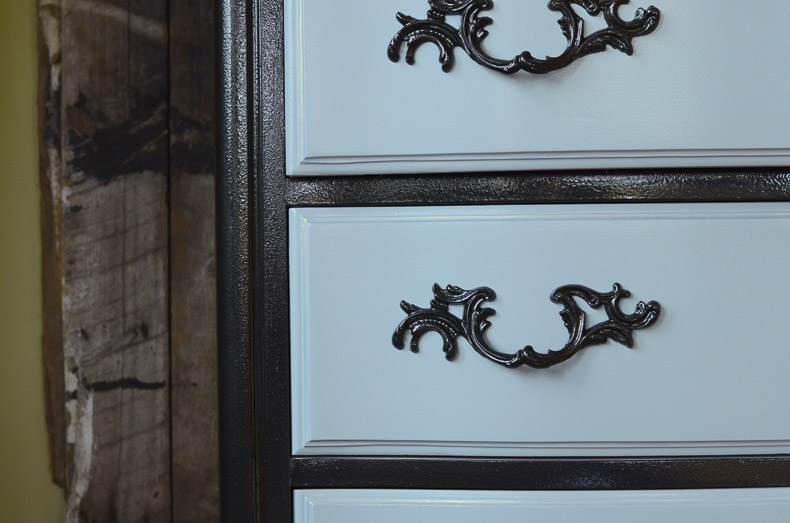
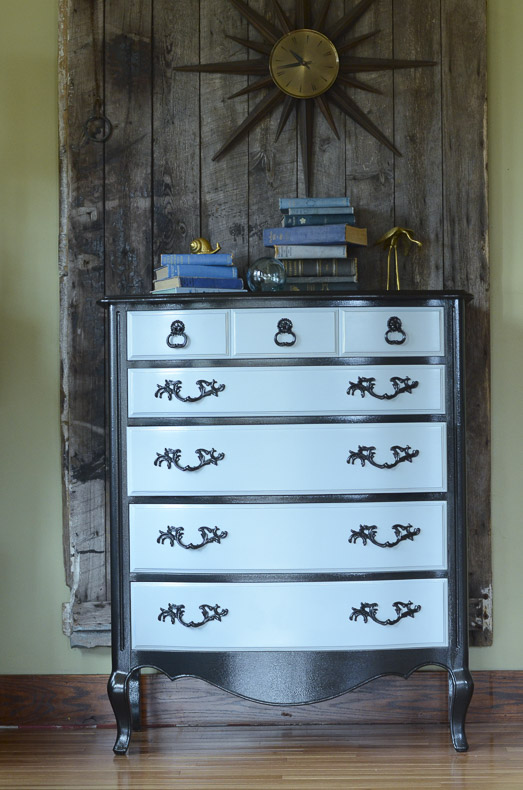
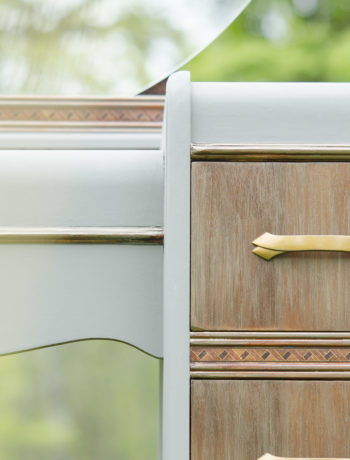
Given the nature of the paint, I again reevaluated my plans and set to work, again inspired by Martha and these lovelies. The paint itself, if you’re interested in using it, can be rolled, sprayed or brushed. In the end, I decided that I had the most control with a brush, and liked the way the paint behaved better from a brush than a roller. It’s an oil-based paint, and a sticky one at that, so follow oil-based paint clean-up protocols. It dries fairly quickly to a lovely, high-gloss enamel finish, and because any brush “drag” messes with the hammered element in the paint, you’ll need to work quickly. Also, be aware that you’ll need to apply several coats to ensure adequate coverage–I applied three coats. The first coat caused me to question my furniture habit. The second coat still left me questioning myself–though post internet search I felt better. And on the third coat, I fell in love. I painted the hardware with the BM paint, and then, because the original finish included gold detailing on the drawers, re-added a gold detail with a brush. I appreciate subtlety and hence applied a barely there gold that one can only see in the right light.
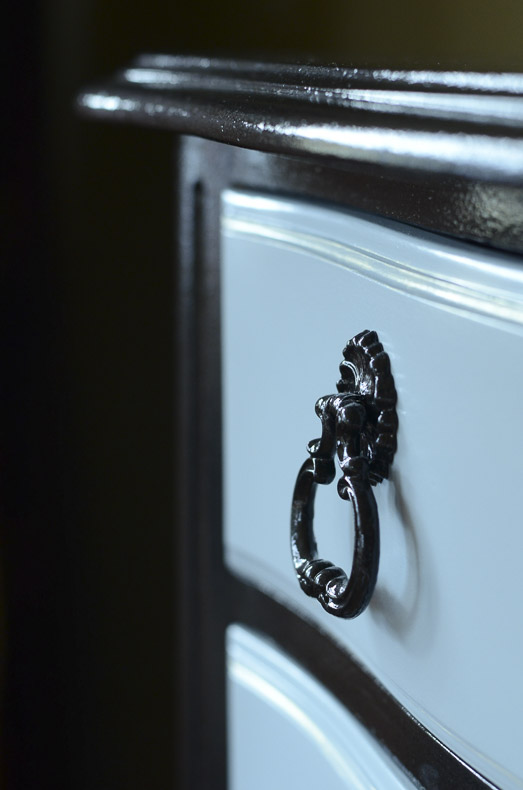
As I consider the before and after photos, it strikes me that some folks might prefer the original version. To be honest, it looked fairly good as is–less the My Little Pony sticker and water damage. But now, to my eye, there’s a glamour and a panache that the original lacked.
That’s all for now! Time to knuckle down and write that last gardening post…
Talk soon,
Queen P

12 Comments
Debrashoppeno5
October 31, 2015 at 3:27 AMIt turned out beautifully. The after is much better then the before. That is an interesting paint that I would like to try some time.
queen patina
October 31, 2015 at 5:50 AMThanks, Debra! The original finish had a certain charm, but I’m glad you agree that the “After” is better. 🙂 The Molten Metallics is an interesting paint: super glossy and shiny, but not smooth like you would expect. Once I recognized that’s how the paint was designed, I embraced it!:)
Martha
October 31, 2015 at 10:36 AMOh wow! It looks really beautiful. I’m so glad it worked out for you in the end! Do you think you’ll use the BM Metallics again?
queen patina
October 31, 2015 at 4:53 PMThanks, Martha! Yes, I do plan on using the paint again–especially since I have some remaining!–but even if I didn’t, it’s such an interesting paint, with interesting application possibilities that I would purchase more. Right now, I have an MCM piece in my inventory and I’m toying with the idea of combining several MM paints on it. The piece is formica so I have no hesitation in painting it! Thanks for the comment! 🙂
Sucheta
November 2, 2015 at 4:52 AMRachel it looks great! I love the two tone you look you chose. I hope you get hooked on gloss like I have.
queen patina
November 2, 2015 at 1:39 PMThanks, Sucheta! There’s a really, really good chance I’m going to get hooked on gloss 😉
Suzanne
November 6, 2015 at 12:57 AMSo great! Sharing tonight on The Painted Drawer Link Party and thanks for sharing!
queen patina
November 7, 2015 at 3:27 PMThanks, Suzanne! It’s so wonderful to have a place to share one’s work!
Marie at The Interior Frugalista
November 18, 2015 at 1:11 PMHmmm, I’ve been an MM girl for metallics up until now but this new BM project has me intrigued. Your dresser looks lovely – I’m a sucker for black painted furniture these days!
queen patina
November 18, 2015 at 11:46 PMIt’s a really fun, if different, paint. You should definitely try it! 🙂 Thanks for stopping by, Marie!
Brenda
November 20, 2015 at 8:45 PMI am so very happy to say that the beautiful dresser is now in my home. My husband spotty this dresser at the Junk Hunt and had me take a look at it. I just loved the colors. My husband loved how well crafted it was built. We talked with Rachel and she told us about it and how much work it was her. After we got it home I was deciding where to put it. I wanted to show it off and was thinking in my living room, but having five grandkids who like to draw on everything, I moved it upstairs to my room. I am now changing the color scheme in my room to go with dresser. I now have another beautiful piece of furniture to hand down someday. Rachel you do amazing work! Thank you!!
queen patina
November 21, 2015 at 3:12 PMBrenda! I’m so glad you love it and that it earned a place of honor in your home. And I’m incredibly flattered that you plan to rework your bedroom’s color scheme to coordinate with the dresser. 🙂